

Welcome back to the last part of our Christmas DIY cards series! Today's card is SUPER EASY and fast to do. I'm going to show you my print out cards that I designed and created using the tools on Picmonkey and Microsoft Office. I'm usually more of a cut and glue person when it comes to cards, but one can't deny the convenience and ease of print out cards. Thus I'm going to share the print out cards files with you here. You can also customize how the cards look like even after they are printed out, such as adding a photo inside or adding on little decos. I'll show you how I did my cards and customized them so they don't look run-off-the-mill.

The 3 card designs available: (from left to right) Card 1, Card 2(stripes card) and Card 3(words card).
- First off, download the files.(Files are in PDF format)
First card:Click here
Second card:Click here
Third card:Click here
- Print the card on a piece of white A4 size paper. For the third card, you can use other coloured paper as well since it is in black and white.

- Cut away the excess paper marked out by the vertical line.


- Use a creasing tool to mark out the lines that you have to fold. These lines are indicated by the dotted lines.
- Fold both the left and right side of the cards inwards to get something that looks like the card in the picture below

- Write a message inside the card or add a photo. Decorate the card as you wish, both outside and inside.
- To decorate, you can tie a ribbon around the card as seen in Card 1 or make a flower like in Card 2.

1: Cut a strip of paper around 15 cm long. The width of the strip will be the radius of the flower.
2: Fold like how you would fold a fan.
3:Make a circle with the strip and glue the ends together. Glue on a circle or flower shaped paper in the centre.
 |
Here are pictures of the cards:
 |
| Card 1: A snowflakes card that looks really cute and cheerful with the scalloped edge. I added a pink ribbon to make it more girly. |
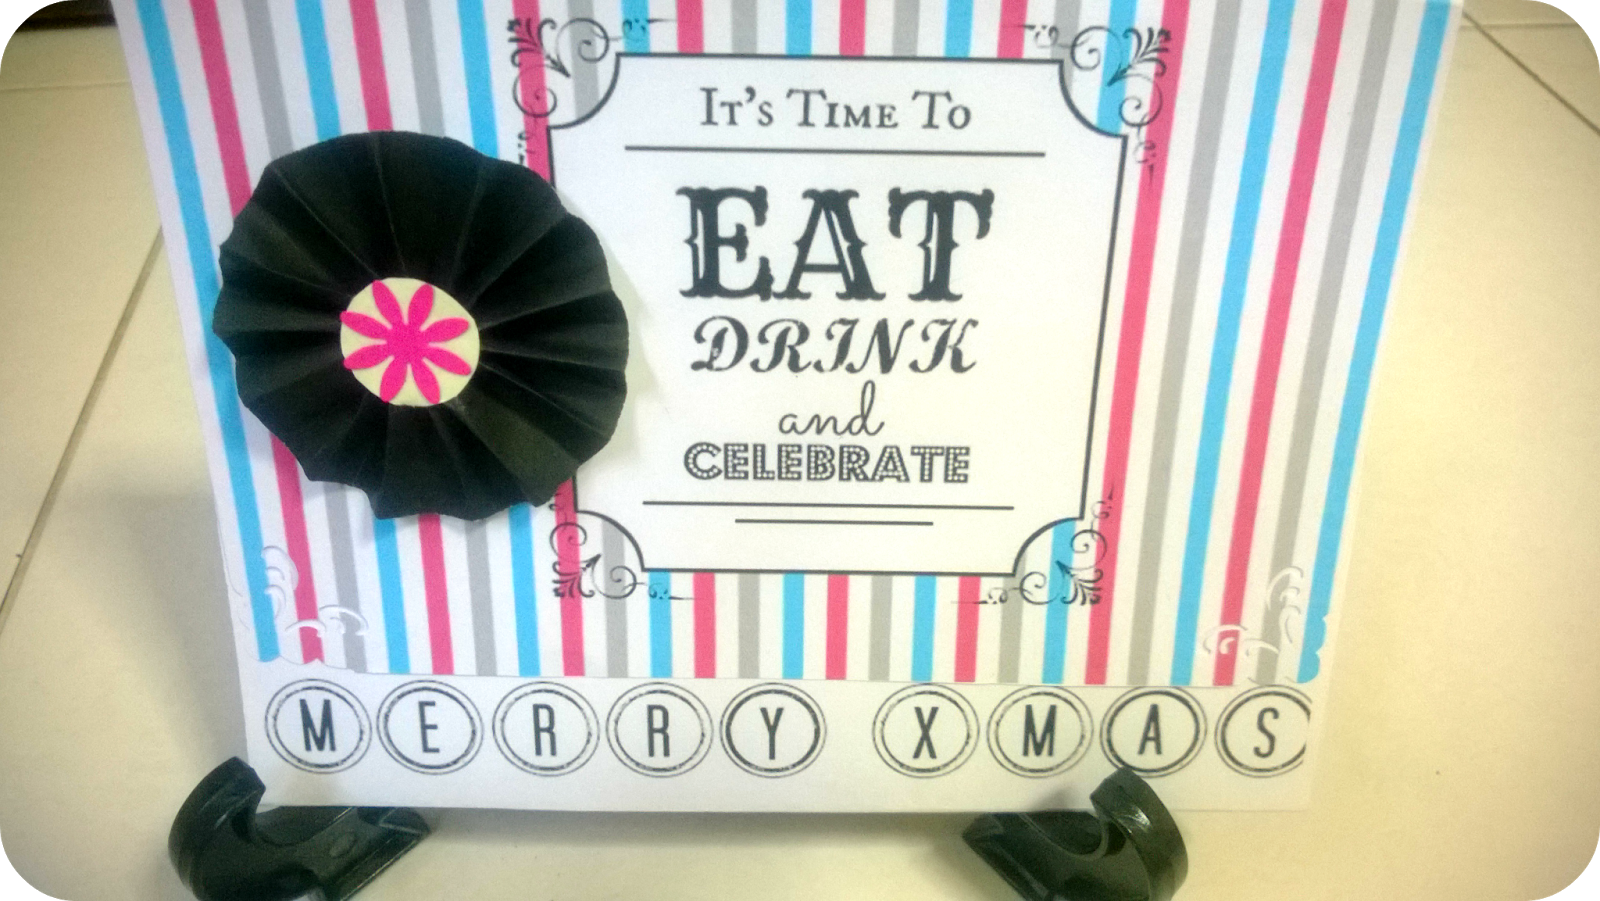 |
| Card 2: A card that reminds me of a carnival due to the colourful striped background (it's the same as our blog's bg). |
 |
| Card 3: A simple monochrome card that uses text for decoration. Suitable for both genders and gives off a mature but fun vibe.
Well I hope you do take a shot at making these cards this Christmas. It'll make a great gift by itself or as an add-on besides the Christmas gift you're giving! I hope enjoyed our DIY Christmas Cards series for this year. Here's to wishing you a good Christmas filled with fun and food.

Here're the 3 cards again after I was done with all the decorations! Don't they look pretty?
Till next time.
Love,
El xoxo
|
No comments:
Post a Comment